
| Back to News |
|
Document Display and Signatures Capture with Ingenico iSC480
|
|
December 17th 2019 - Thank you for your purchase of the Ingenico iSC480 for your credit card sales! With the latest release, Helios now offers complete document management through the iSC480. There is no additional cost for this new feature, but there are some additional software installations that must be done before starting your documents. Microsoft Word is required, as that is what we use to edit the templates. Additionally, there is software from Ingenico that is required, so please contact Helios Support at 317-554-9911 to obtain and install this software. Once everything is installed, and Helios is updated, the first step will be to save copies of your current templates. If you are new to digital documents, you will need to go under Settings->Templates. One by one, go through the release and contract templates and copy the text into individual Word documents. All the automated client information fills work the same, so there will be no changes required for the text itself. If you are using the Epad, you will want to copy all of the documents from folder C:\Program Files (x86)\Helios12\Templates to another location. With your documents ready, you will need to turn on documents on the iSC480. Under Settings ->System, check the box Digital Contracts/Release, and select the iSC480 from the dropdown menu: 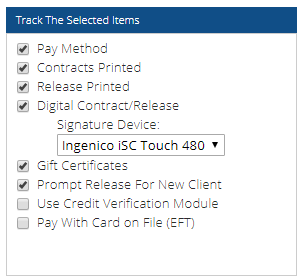 Click “Save Changes” and close the menu. To begin adding your documents for the iSC480, you will now need to go to Settings-Templates. 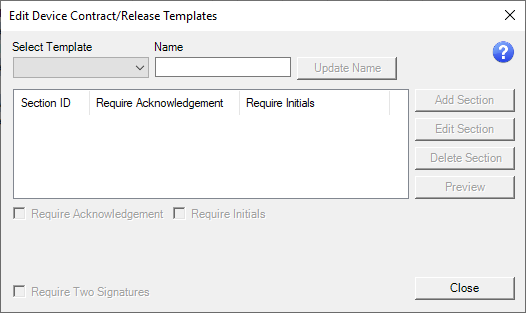 Select a Template you wish to begin editing from the dropdown menu. You can rename the document to whatever you wish so that you know what each Template is for. Simply type in the name you want for the Template and click “Update Name.” We will walk through setting up a release. Select Release from the menu and click the “Add Section” button. This will open Word and allow you to copy your text from your previously retrieved Templates. In this example, I am going to set the release to have a separate acknowledgment and initial on the risks of UV Tanning. This sample release text is in section 1, and the separate acknowledgment and initial are in section 2. As you copy or type your text into the sections, as you finish a section, simply close Word. When it prompts you to save the document, click “Yes.” Here is what the sample release options look like when completed: 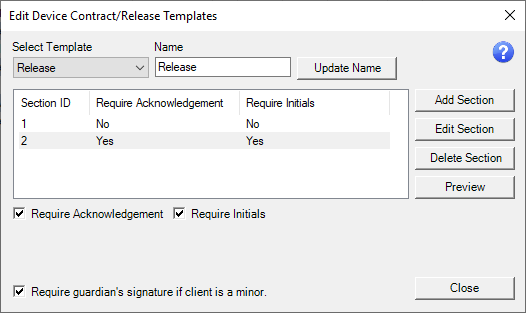 For releases, you have the option for the iSC480 to require a second signature if the customer is a minor. For contracts, you can require a second signature for a cardholder. This may come up if someone other than the client is paying for an EFT. If a second signature is required on a contract, but the client and cardholder are the same, the client will still need to sign both signature boxes. To require an acknowledgment or initial on a Section, once your Section is created and your text saved, simply highlight the section and click the “Require Acknowledgment” and/or the “Require Initials” checkboxes. To edit a section once it has been saved, simply highlight the section, and click the “Edit Section” button. This will open Word and allow you to make edits. If you wish to delete a previously completed section, simply click on a section to highlight it and click the “Delete Section” button. Once your Template is complete, you can click the “Preview” button to see the document as a whole. Once your Templates are complete, there’s nothing else that needs to be done. Your sales codes will still reference the same Contract/Waiver as long as the Template you select is the same Template number you previously used. Now, let's see the device in action! I am going to add a release to a customer profile. To do so, pull up a client, and go to Client Profile->Print Release. While the customer is reading and signing on the iSC480, the cashier will see this prompt: 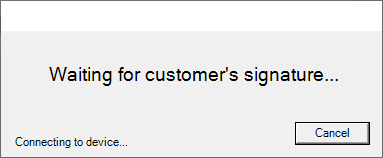 As the customer moves through the document, the cashier will see what step they are on in this window. Here is what the customer sees:  This is the first part of section 1. The customer can scroll down with the stylus, click the green “Next” button on the screen, or press the green “Enter” key on the keypad. On the next screen, we will see the required acknowledgment to proceed. 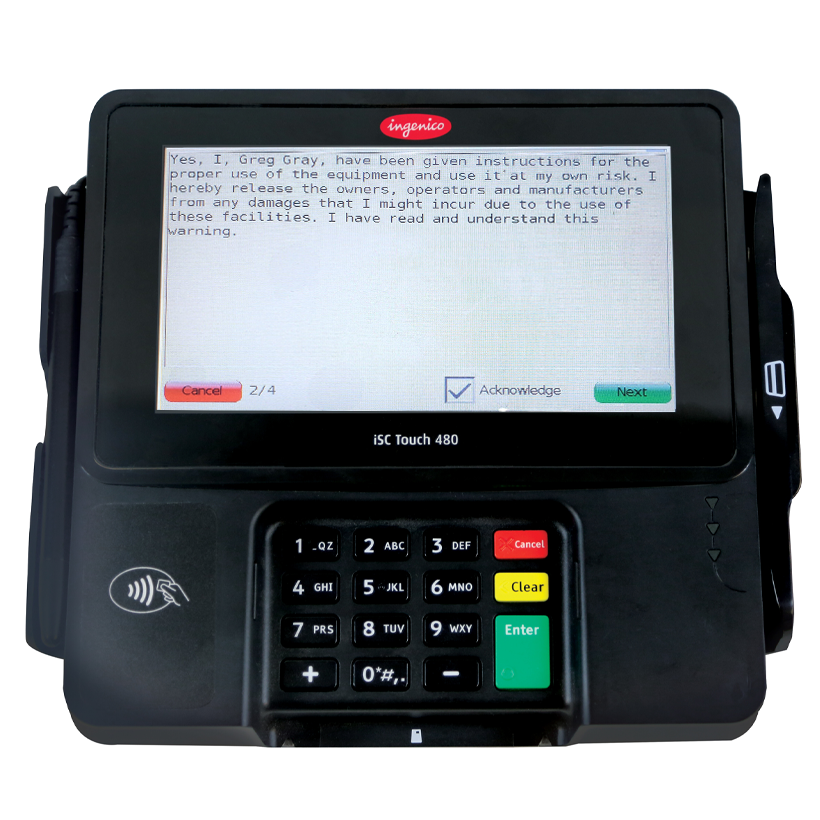 If they do not click “Acknowledge,” the document will not continue. Next will show the required initial: 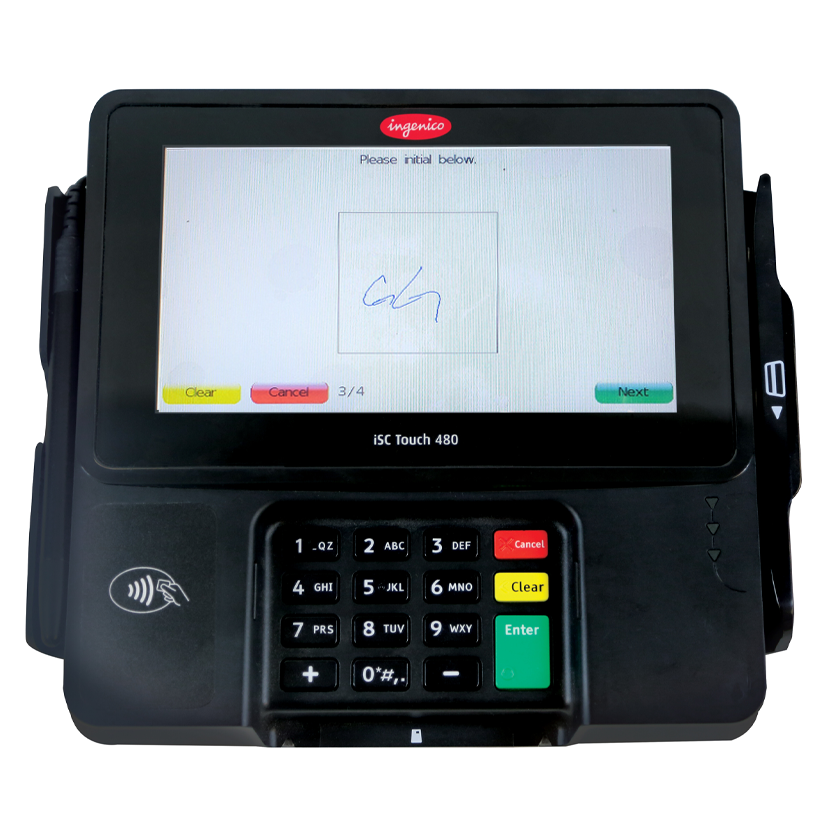 Finally, the signature capture: 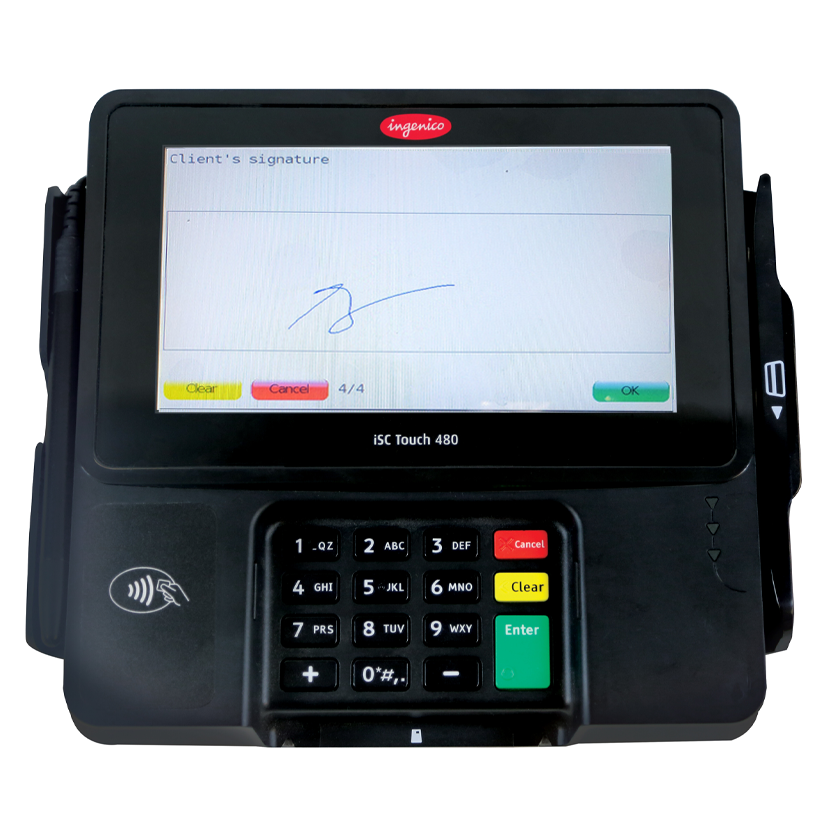 Once the customer hits okay, and the document is saved, the cashier will get this prompt: 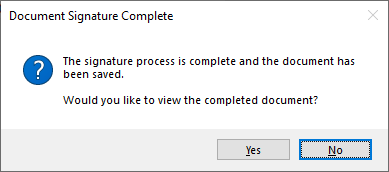 Clicking “No” will close the box, while clicking “Yes” will load the completed document in Word. 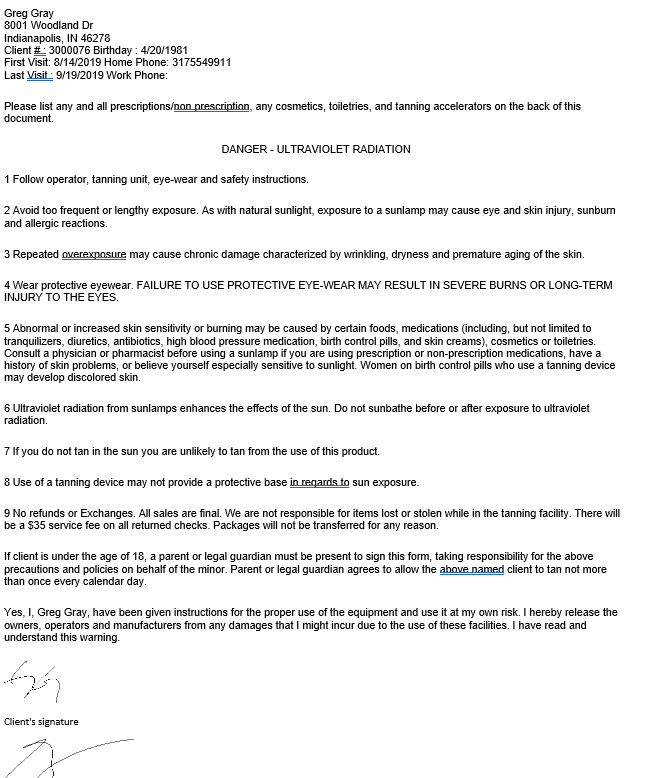 If your salon is enrolled in digital document delivery, the customer will also get an email link to download their signed document. If you have any questions, please don’t hesitate to contact us at 317-554-9911 for assistance. We hope you and your customers enjoy this new document system! Thank you for your continued support! |

8001 Woodland Dr., Indianapolis, IN 46278 info@gohelios.com
Helios, LLC is a division of New Sunshine, LLC. Copyright © 2026. All Rights Reserved. indianapolis web design by: imavex
